Let’s create some Papier Mâché Mini Pumpkins!
I find these to be fun and relaxing to make. They do take time to completely dry and that’s why I make several at a time. I also need to rinse my hands in between applications. There are many possibilities to explore as you go through the creative process. Let’s begin.

SUPPLIE8
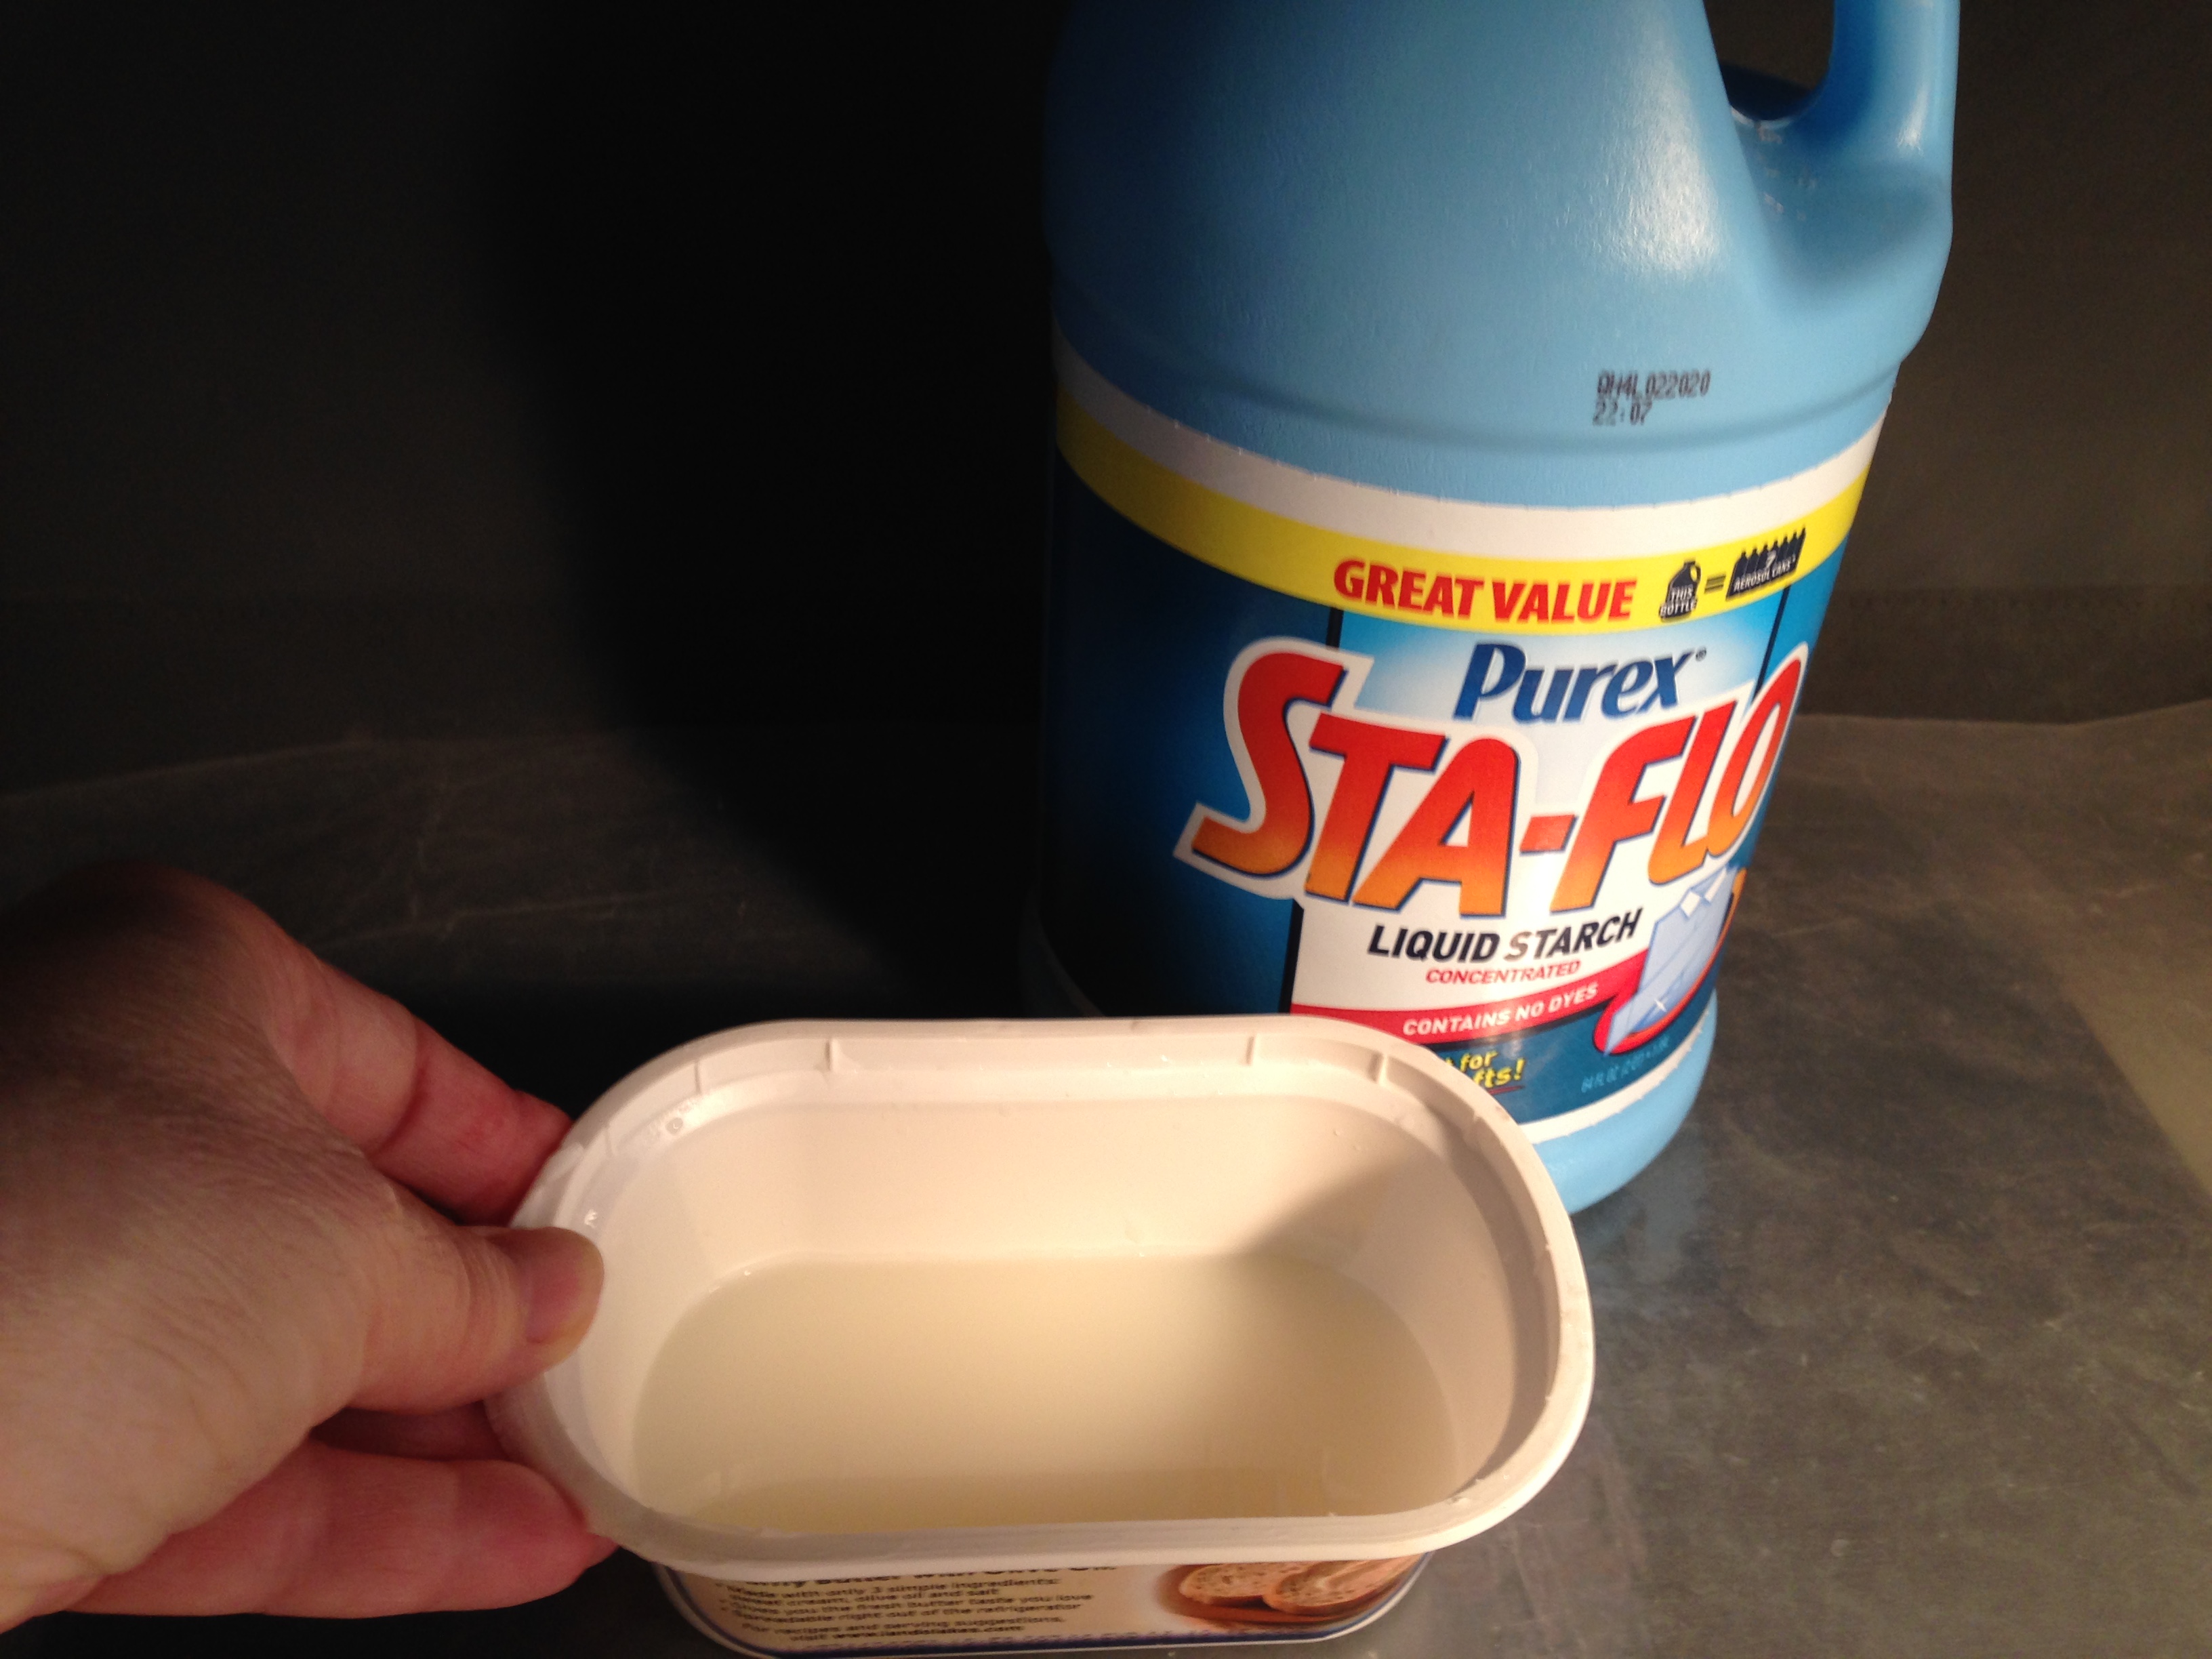
• Liquid Starch
• Paper Napkins
• Newspaper
• Masking Tape
Please Note: Liquid Starch can be purchased at Walmart or online.
Crumple newspaper pieces to create a ball in the palm of your hand. Dampen with liquid starch and press together. Add a piece of newspaper over the ball and twist the top. Secure the top with a piece of masking tape. Dampen the ball with liquid starch. Allow to
dry.

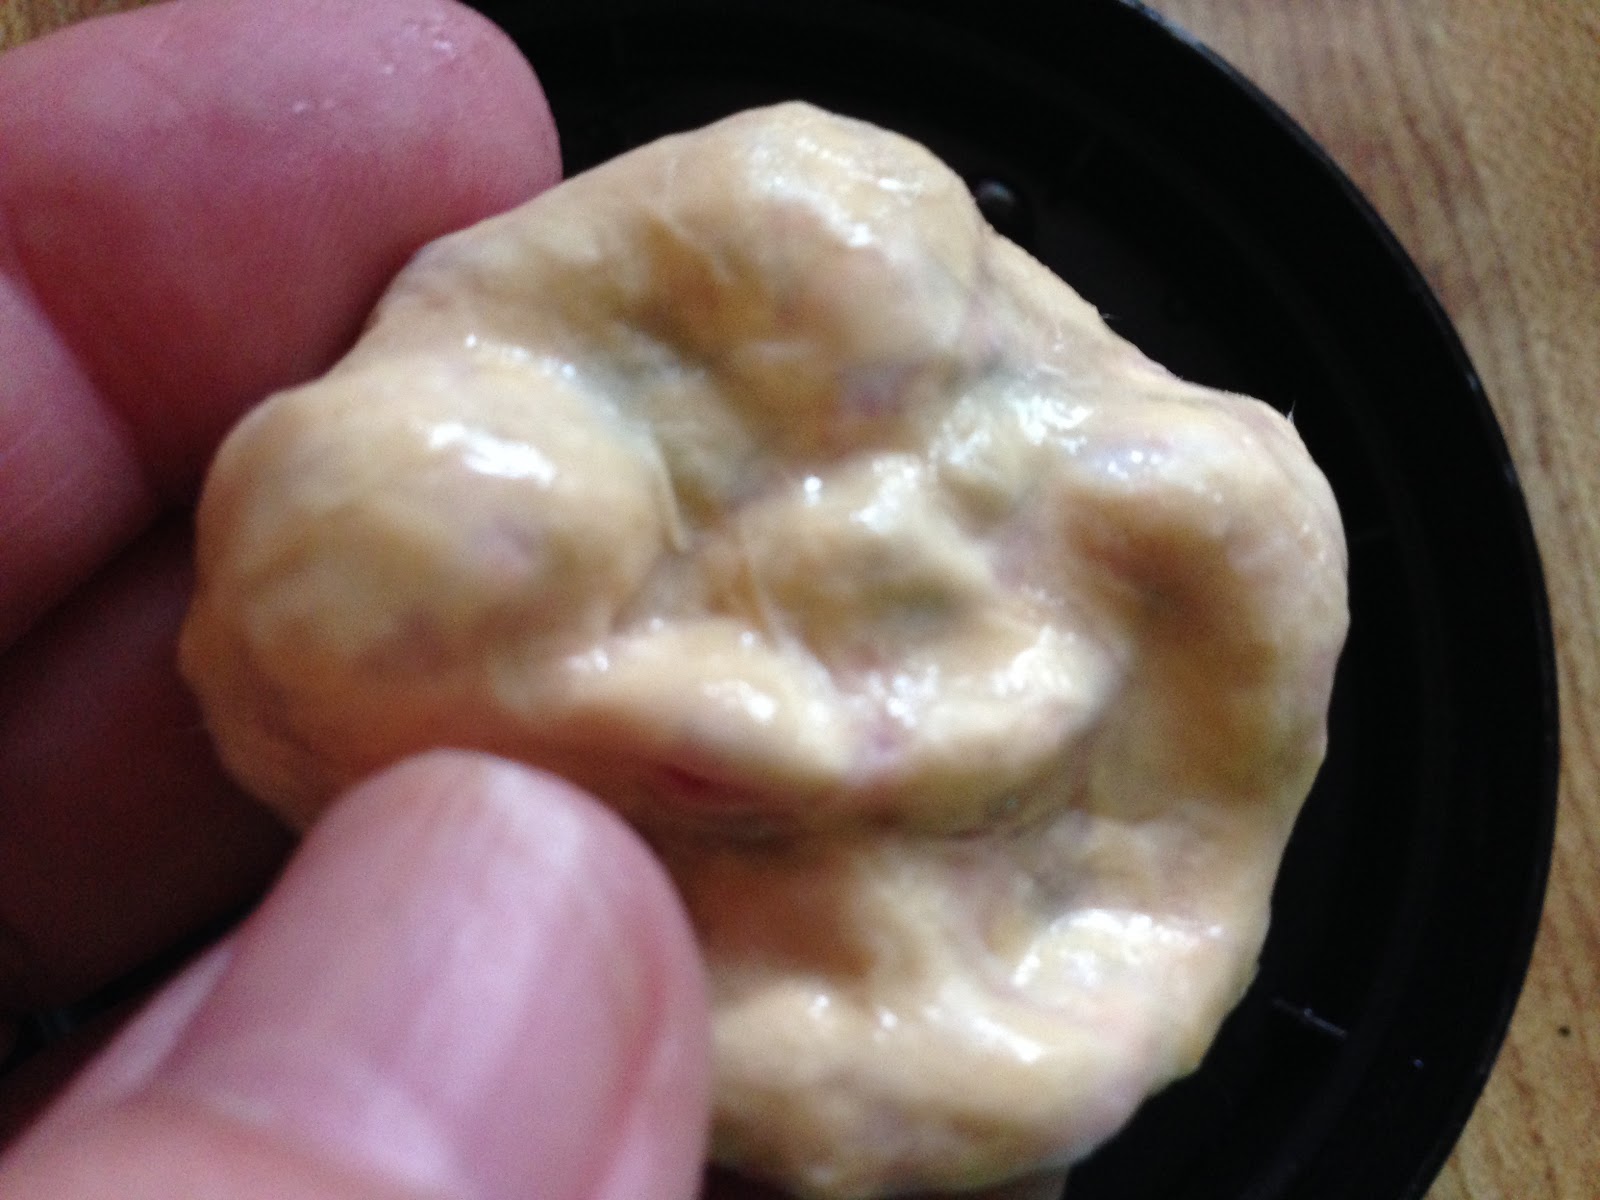
Create Wedges: Crumple some paper napkin pieces and press into wedge shapes. Dampen with liquid starch. Apply to the ball by pressing into place a few
at a time. Cover with paper napkin pieces to secure into place. Do this all the way around the ball shape.
Allow to dry.
(Dry overnight, under/in front of a fan or by direct sunlight.)
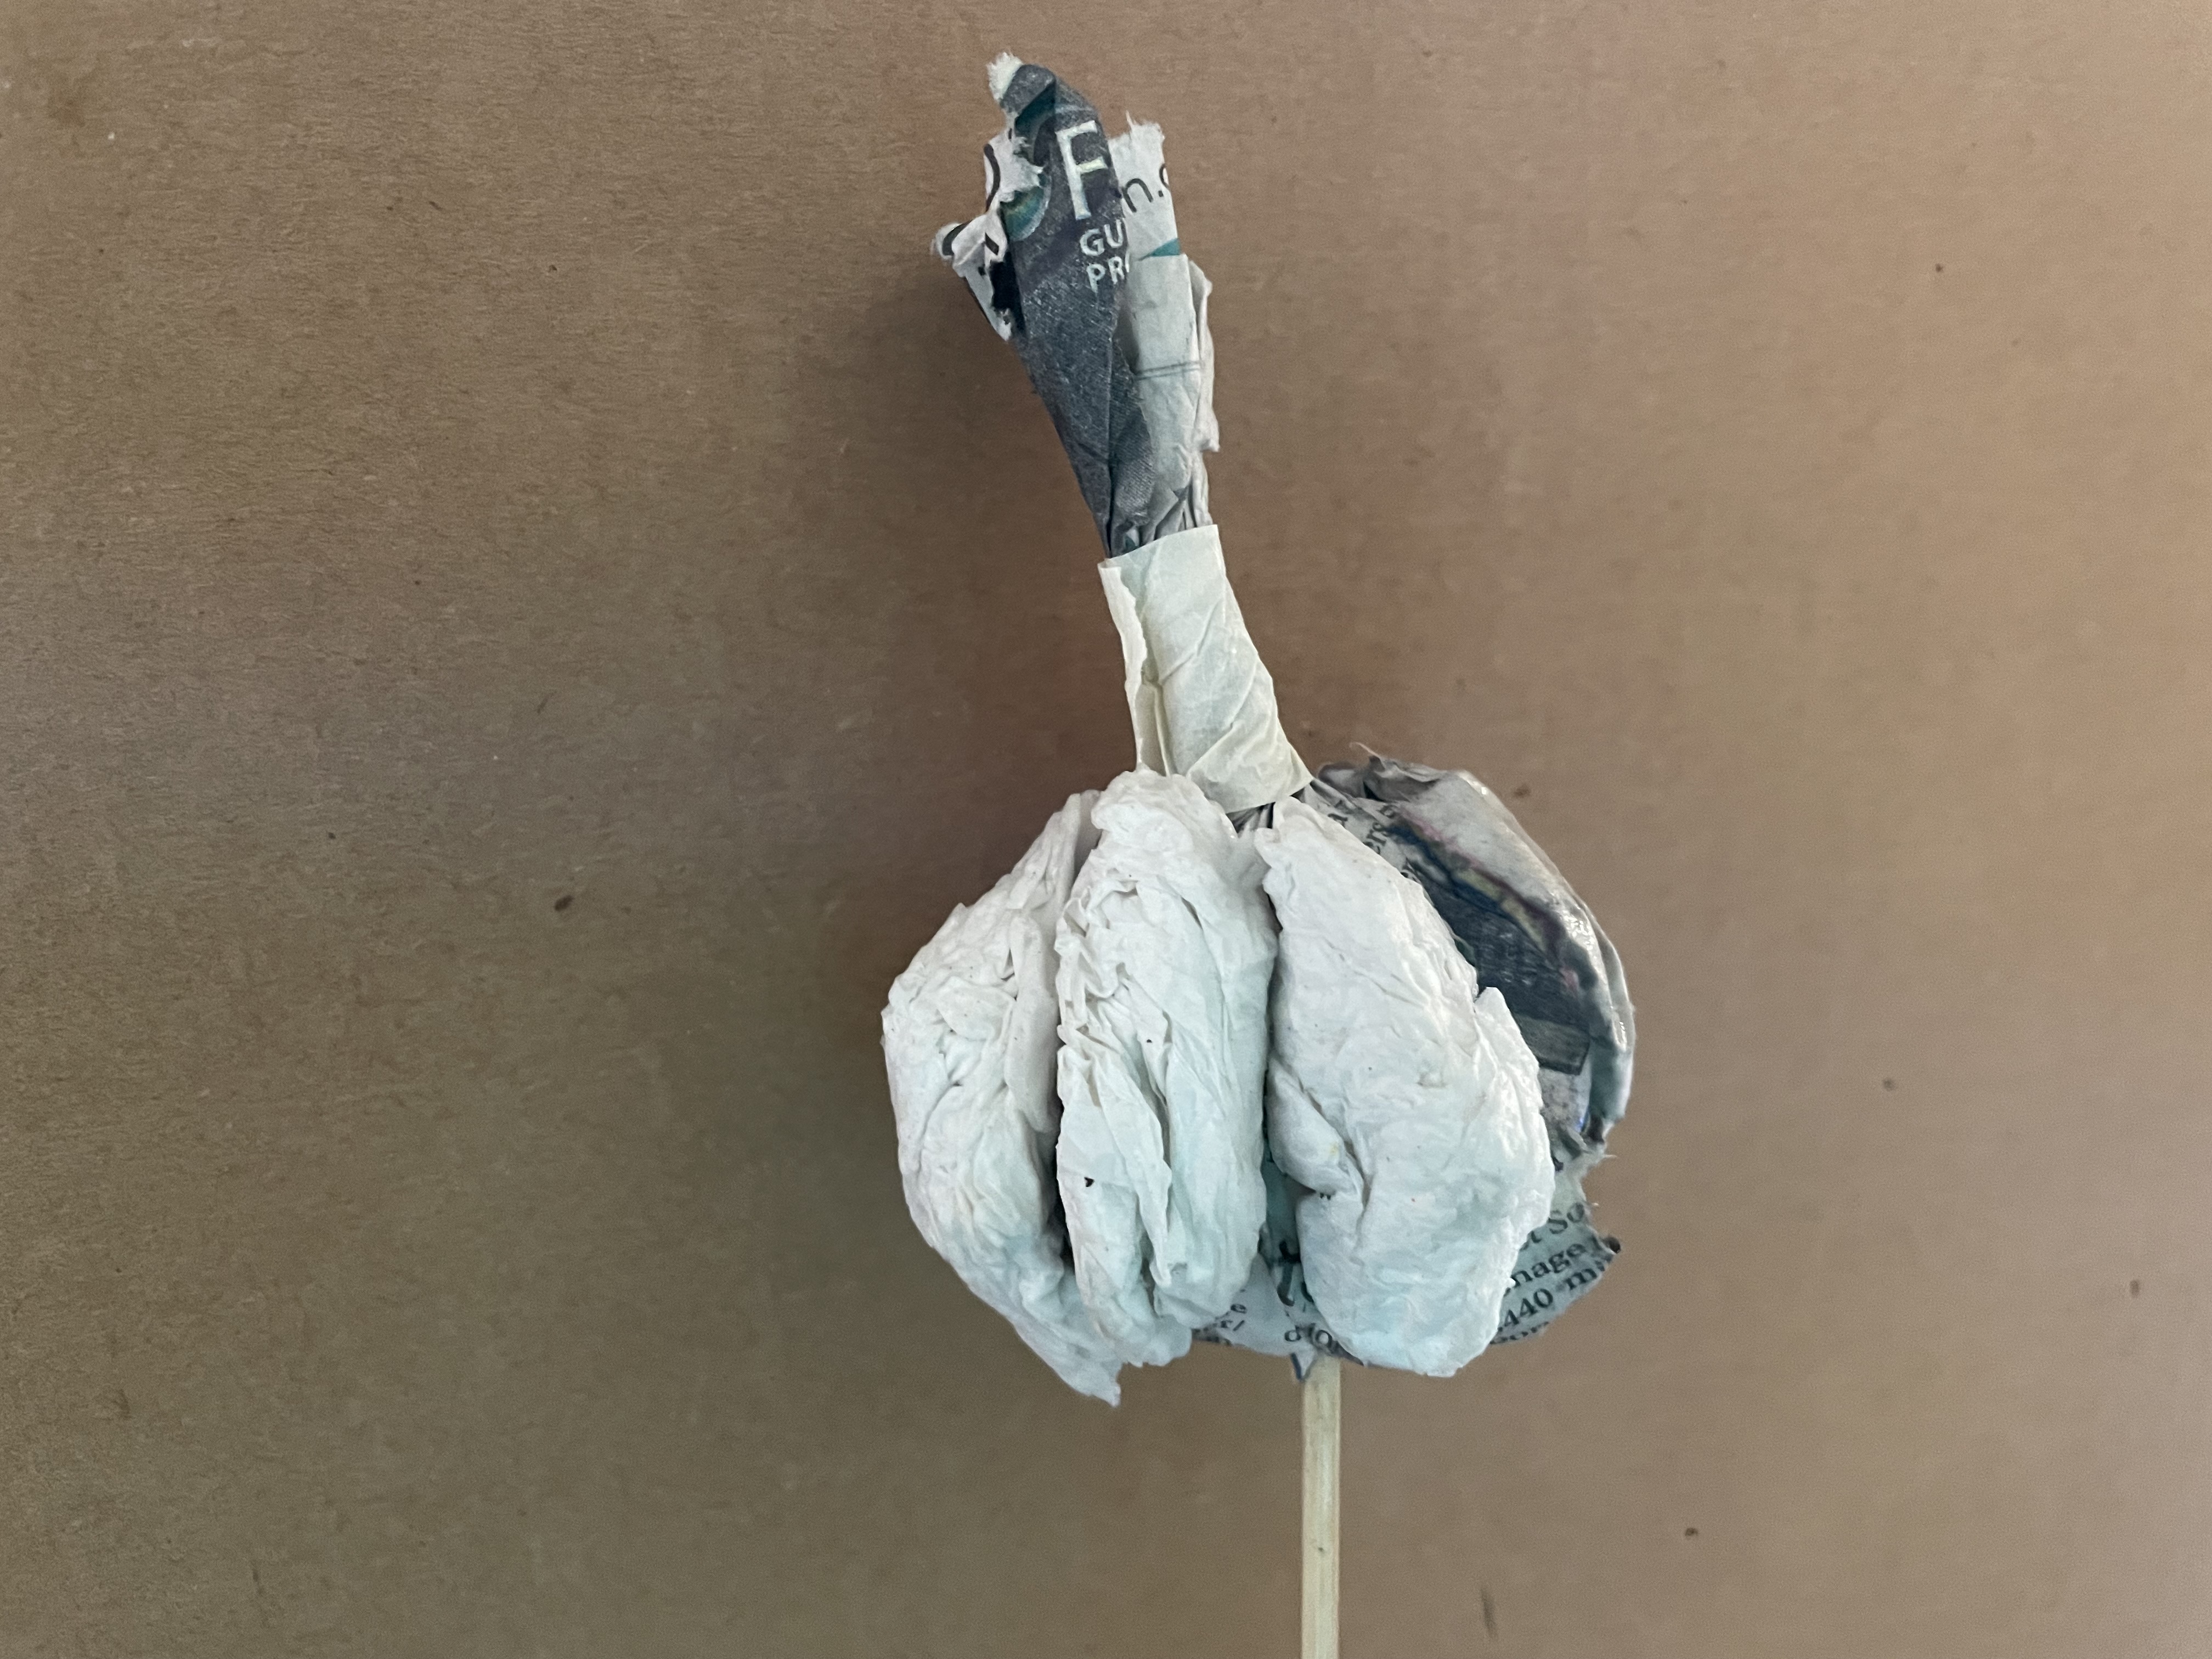


Note: Make sure that you also cover the stem completely.
These are the basics. Create them in different shapes and sizes. (You can also use papier mâché pulp to create wedges as in the gray pumpkin below.)

I hope that you will give these a try. Leave them plain or color them however you like.


